Three ways to fit M3 mirrors:
Duration (solution 3, without base plates):
- approx. 15m for disassemblage, assemblage
- approx. 2h for cutting and filing the plastic triangles
- ages for making the wooden triangles (determine the holes and filing)
- 20m for sealing it with silicone
Needed materials (solution 3, without base plates):
- M3 mirror
- Approx. 30*30cm plastic piece, approx. 3mm thickness (meanwhile I would prefer metal sheet because I'm not sure if weather could do a harm to the plastic)
- 6 5mm screws and nuts
- 10 woodscrews
- Wooden panel approx. 7*30cm, 1,5cm thickness
- Water resistant paint
- Dremel
- 5mm drill
- Screwdriver
- 7mm wrench
- Silicone
- Sandpaper
- File
- Saw
- Approx. 30cm strings
Preface:
- I do not guarantee for any information in this document. Any installations you perform you do at your own risk.
- First read the whole text an then start to do anything.
Disassemblage:
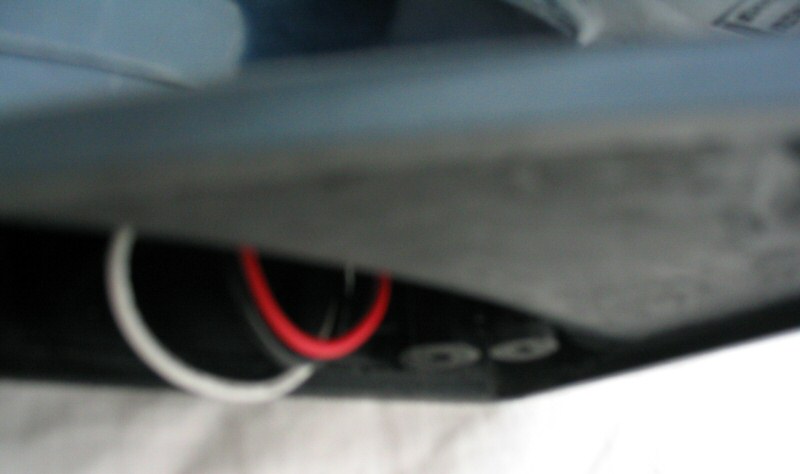
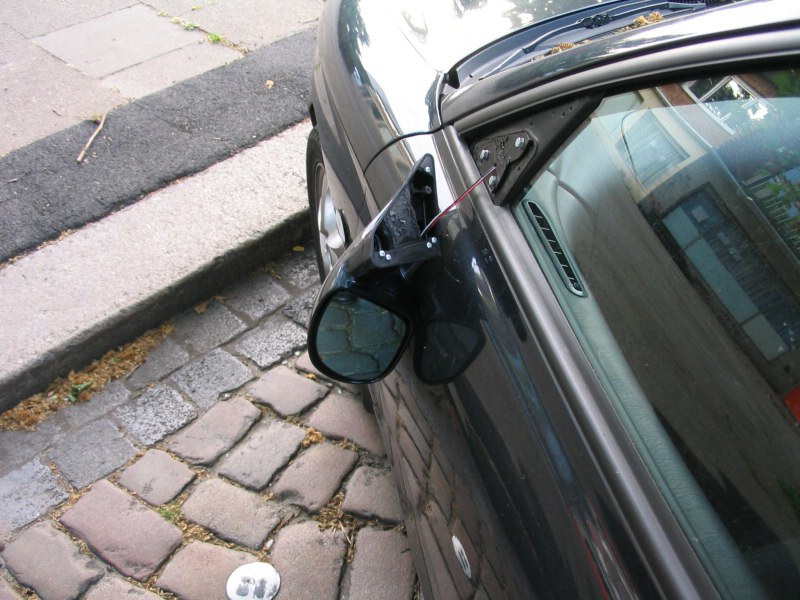
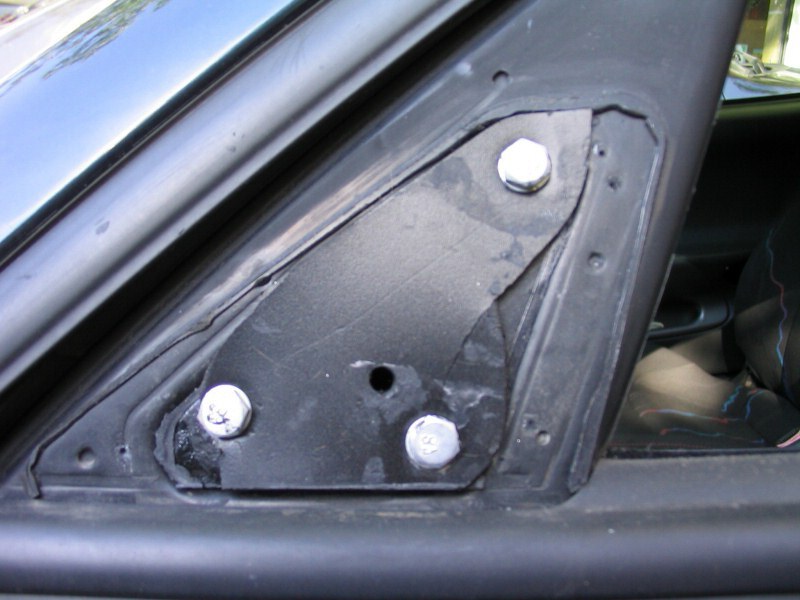
- The triangles are clipped into the door. Use strings to pull evenly. Otherwise the clips can break.
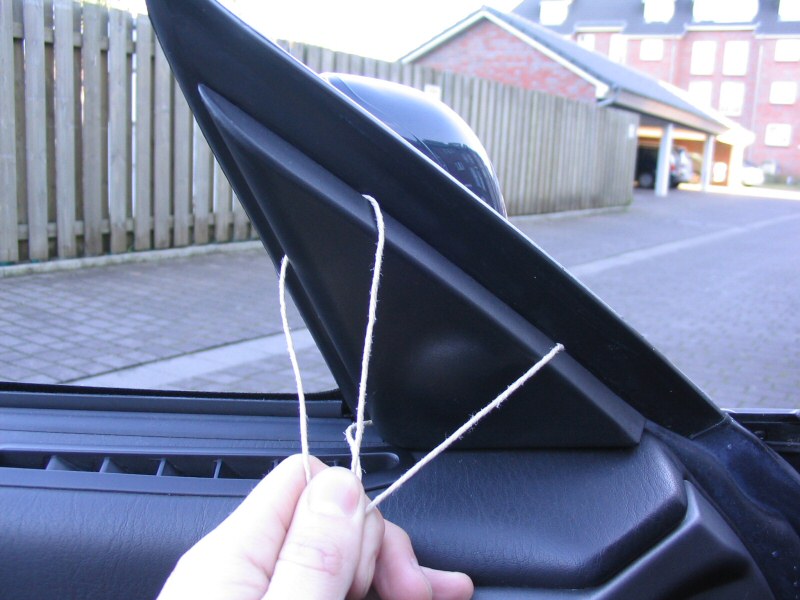
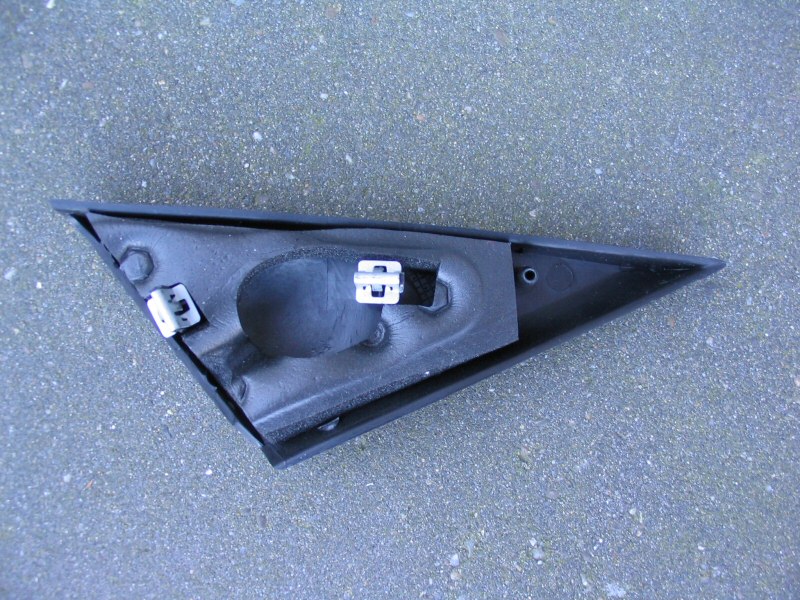
- That's what they look from behind.
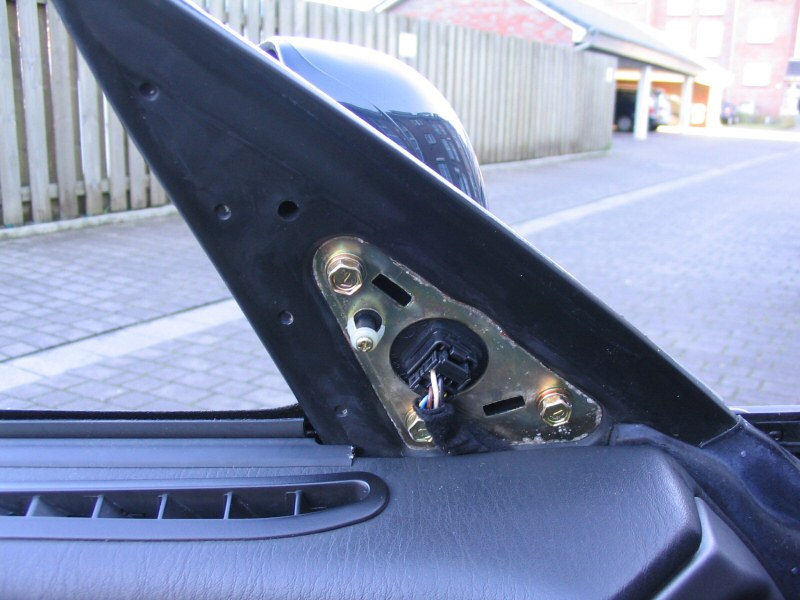
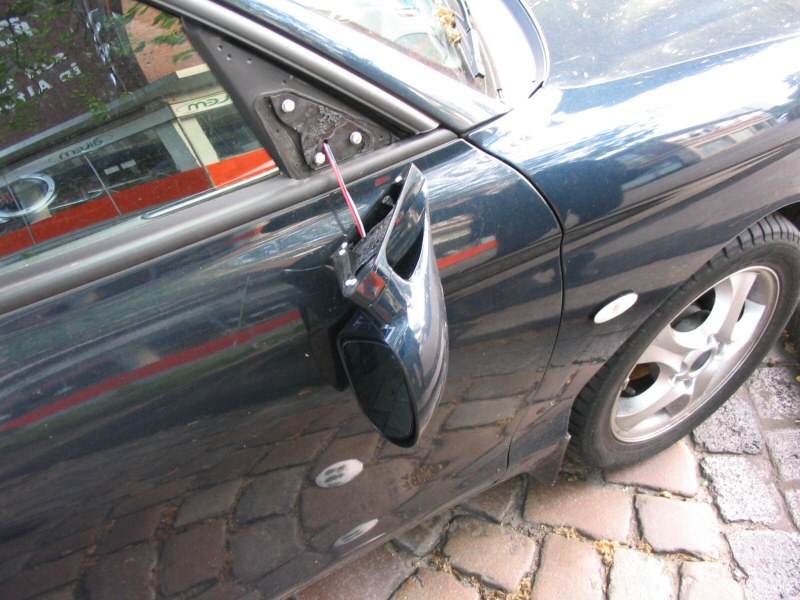
- Unscrew the three big and the one small screw. The mirror will come off.
- Be careful if you use the originally supplied screws for the M3 mirror. Mine were too big (and of poor quality) and broke.

Now you have to decide if you use the supplied base plates or if you build your own base plates or use no base plates.
Supplied base plates:
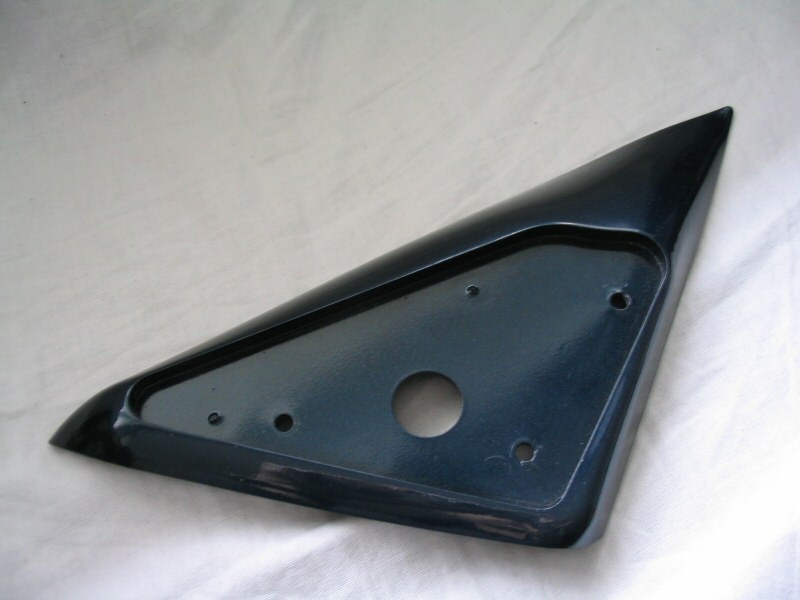
- Normally the aftermarket base plates do not fit at all. They are too large and do not have the same shape as the triangle at the door has. You can fill these spaces, sand it and glue some plastic pieces to the rear side so you can't look into it from the inside of the car. I decided not to got that way.
Selfmade base plates:
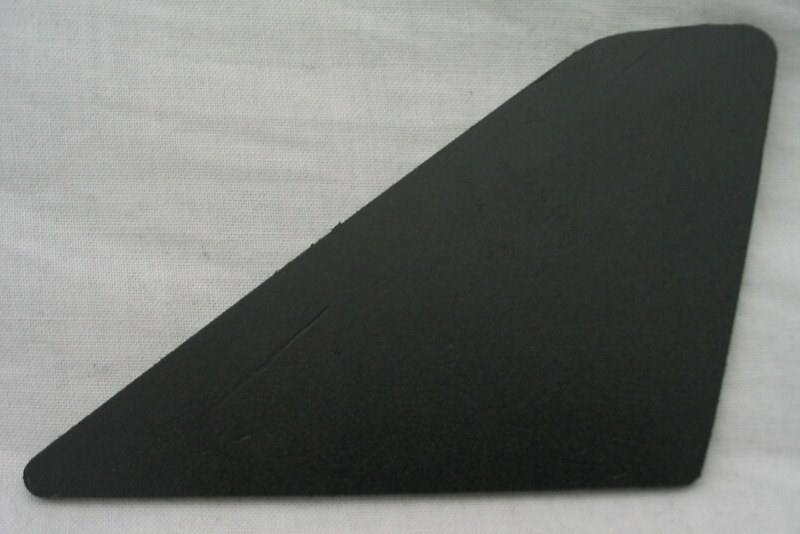
- Measure the correct shape of the rubber triangle. Cut a piece of card so that it fits.

- Use the card template to file the shape into a piece of wood.
- Cut a piece of plasic of nearly the same size as the needed triangle.
- Put it into the oven.
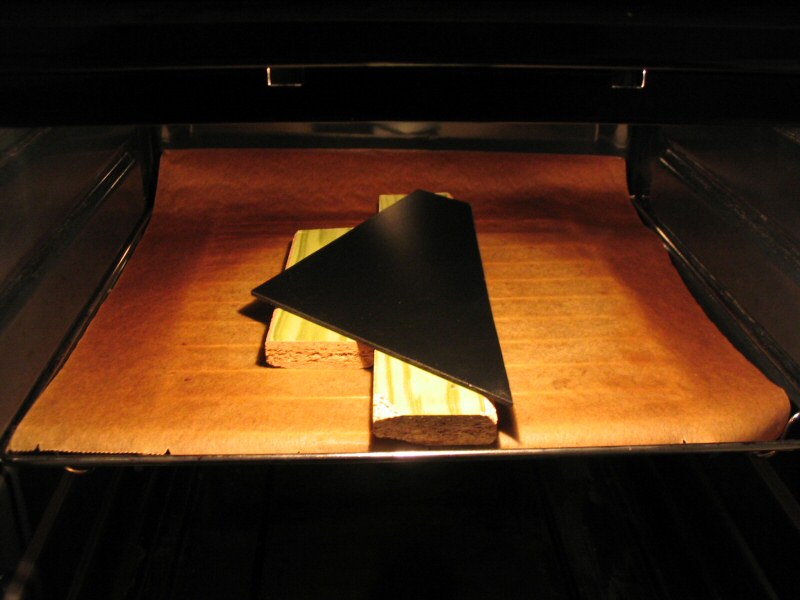
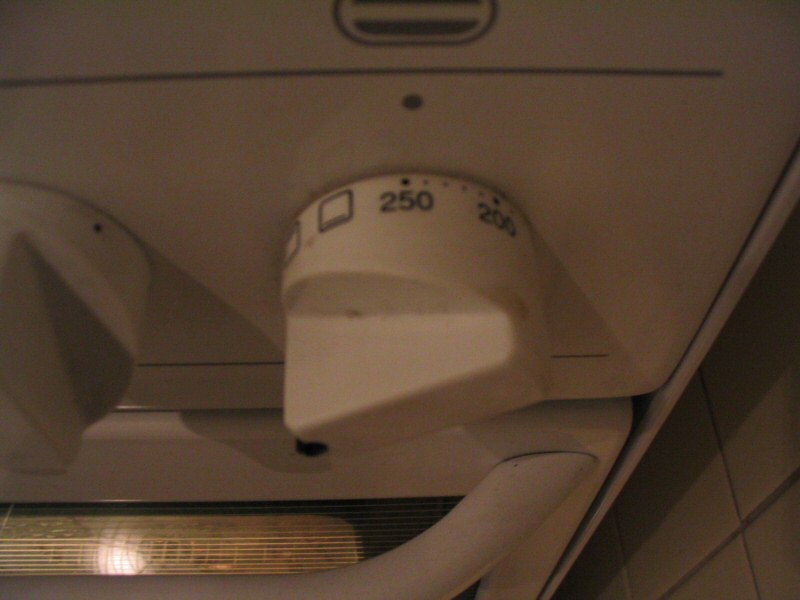
- I switched the oven to maximum temperature.
- If it is molten flexible take it out of the oven and bend it over the prevously filed piece of wood.
- Cut it to the size you need.

- Now you have to sand it, drill the needed holes and paint it. I didn't got this way either.
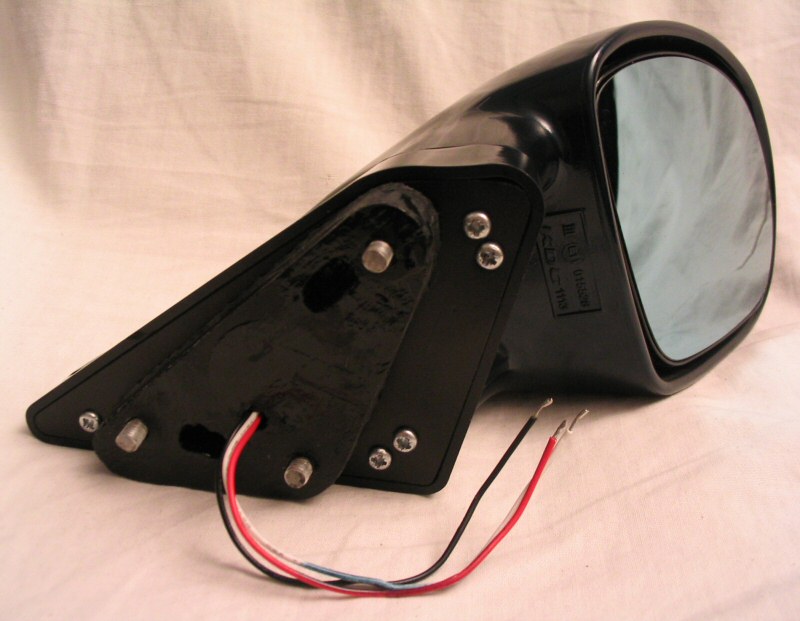
Without any base plates:
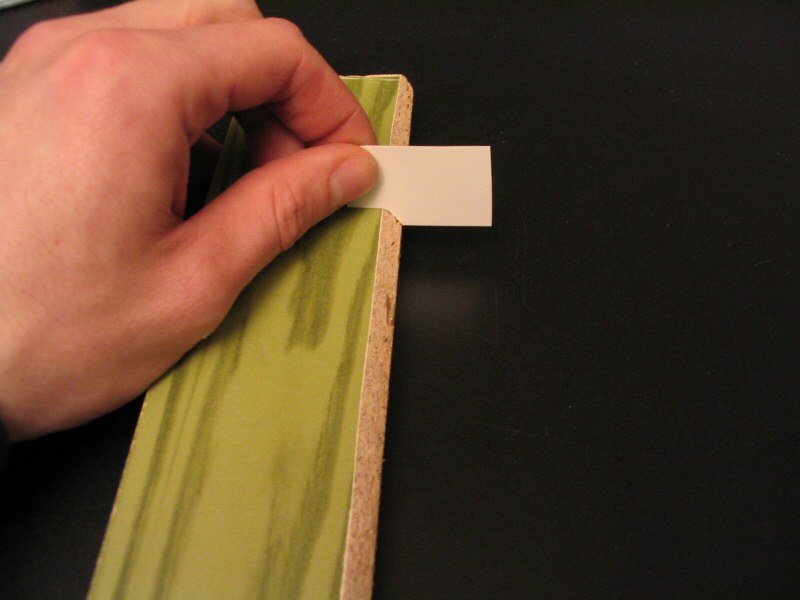
- Sand the back of the M3 mirrors if it is not flat. Mine had some text on it which needed to be removed.

- Cut the pegs for the screws so they are not in the way for the plastic panel. I used a Dremel.
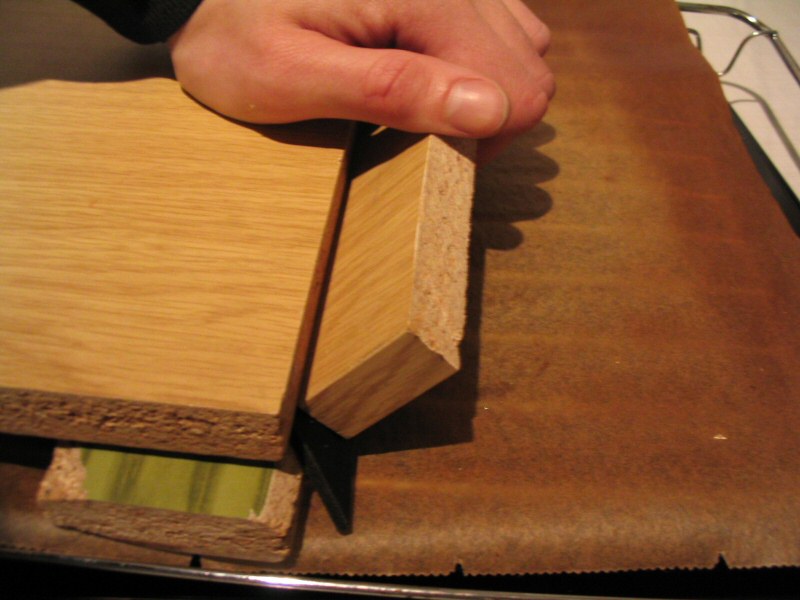
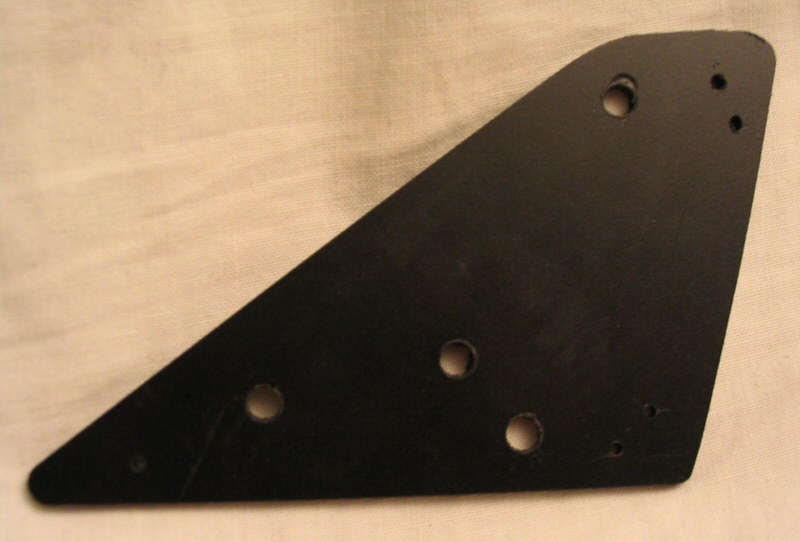
- Cut out a piece of plastic and file it that it fits into the M3 mirror.
- Cut out a piece of wood and file it that it fits into the rubber triangle at the door.
- Drill the holes for the screws.
- Mould some holes into the wood for the clips of the cover. I again used the Dremel.
- Paint it so it does not get damaged if it gets wet.

- Drill the holes for the screws and one for the cables.
- Assemble it together. Use some silicone or glue if you are not sure if it is attached enough.
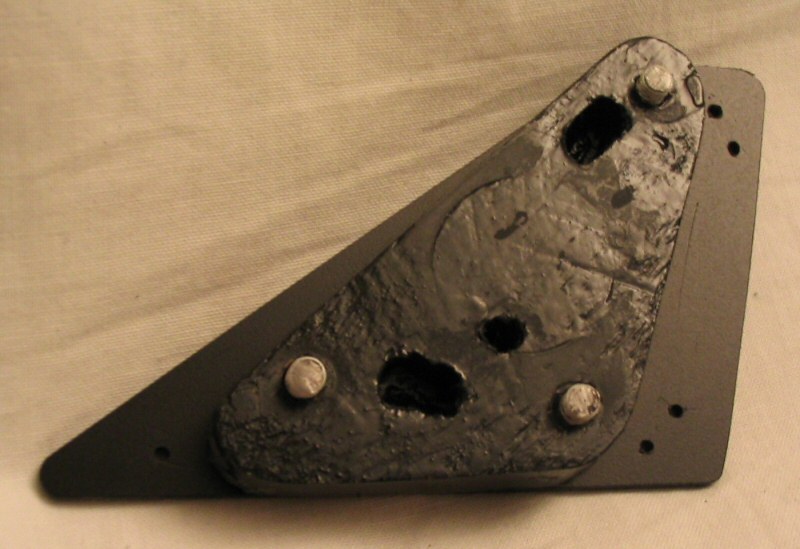
- Screw it to the mirror.
- Before fitting the mirror to the car, sand the rubber triangle wet with water and very fine abrasive paper. So you can remove the letters.
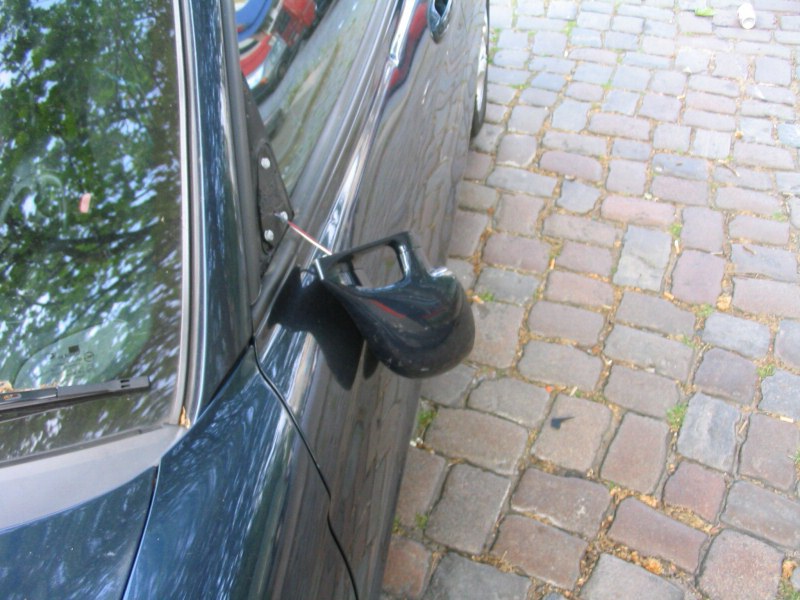
- Use some silicone to seal it and to cover small slits.
- The holes which you can still see at the photo can be filled with silicone, too. Mine has the same color as the black rubber, so I'll do it soon.
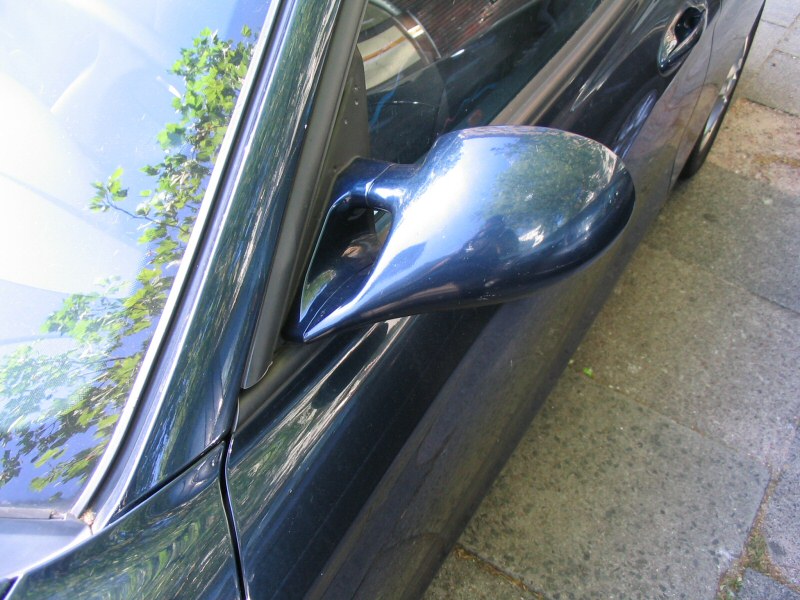
- That's what it looks like:
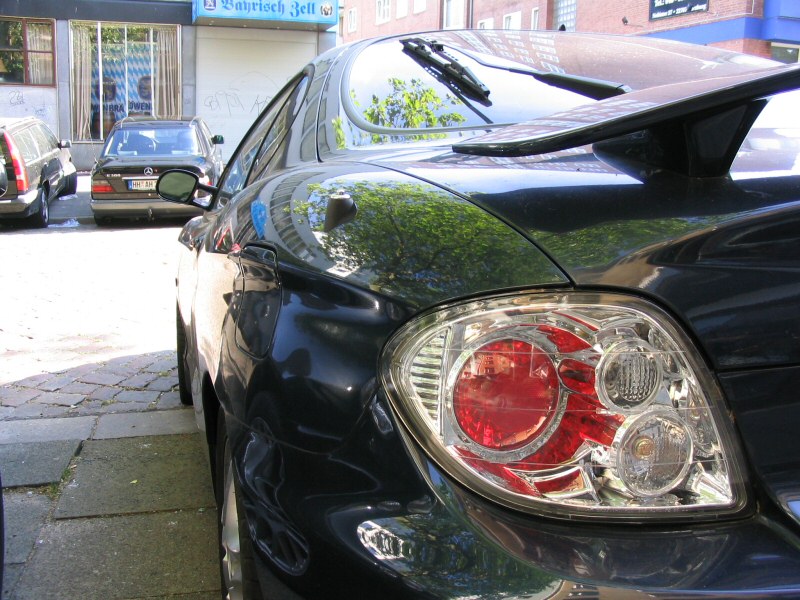
- That's what it looks like if somebody kicks it off:
- The plastic triangle is the weakest part in this construction and breaks at first. It can be renewed in 30 minutes. The rest of the mirror was unharmed but the door was scratched.
If this DIY was helpful to you, you may give a donation: